


Virtual tours have taken over our lives, right? I mean, I still can’t believe people actually buy houses after seeing them virtually. I don’t think I could. Unless it was virtual too. But that’s another story. Anyway, creating a top-notch virtual tour isn’t just about slapping a GoPro on a monopod. Nope. It’s an art form. Or at least it was before 360 cameras came along. While you can easily create a virtual tour, understanding the ins and outs—especially if you’re in real estate—is key. And no, I’m not talking about the 1995 thriller starring the guy from ‘The Rockford Files’.
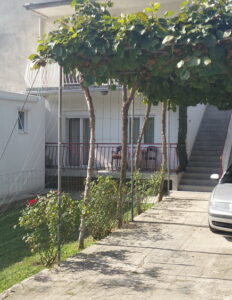
In the land of the online future, virtual tours are becoming more and more important in the real estate industry. So I put together a guide to ensure you’re not making your virtual tours with duct tape and a dream. Sure, you might be able to create a virtual tour using your phone, a rotator, and some clever editing. But if you’re serious about real estate, there are more professional ways to show off your properties. I’m not saying I’ve never used my phone, a rotator, and some clever editing to create a virtual tour. Well, I am saying that.
Know Your Audience: Professionalism is Key
Who are you trying to impress? Your grandma? No, I mean, who is your virtual tour for? Is it for potential homebuyers, business people looking for commercial space, or the 18-year-old kid down the street who thinks he’s going to be a real estate mogul?
Knowing your audience will dictate how professional you need to get with your gear. High-end clients need quality, and they expect it. If you’re working with a five-million-dollar estate, then a phone camera isn’t going to cut it. Invest in quality gear.
Basic Gear: Smartphone and Rotator
If you’re still using an old smartphone to create virtual tours, you’re a dinosaur. I mean, I don’t even know how you’re still alive. But here’s the thing—people still do it. I know that ‘a smartphone and a rotator’ sounds like the title of a sitcom on CBS.
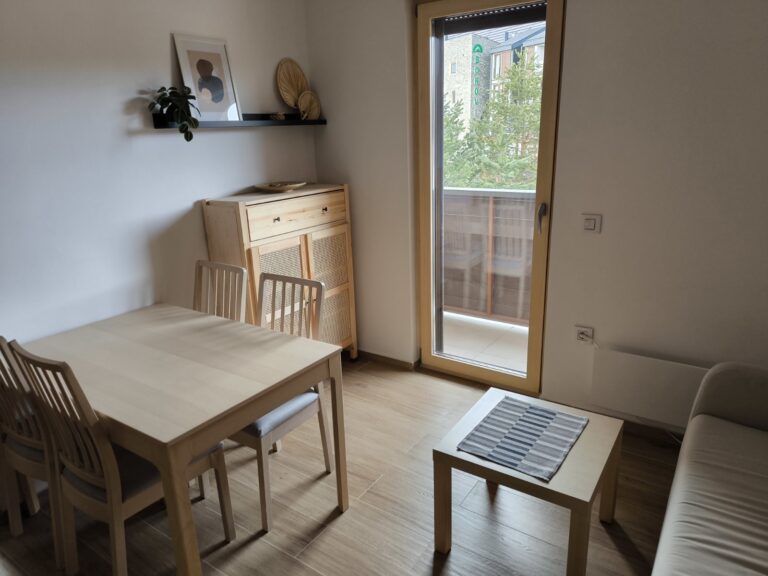
But seriously, it’s still a way to create decent virtual tours. The quality isn’t as good, but it’s good enough for a lot of situations. Like, if you’re a real estate agent and you want to show someone a one-bedroom apartment for rent, the quality is good enough. Maybe not for a mansion in Beverly Hills, but good enough for a two-bath, one-bedroom beauty in Woodland Hills.
Intermediate Gear: 360 Cameras
Upgrading to a 360 camera is like upgrading from instant coffee to artisanal pour-over. You’re going to get a lot better quality. The good news is you can get a 360 camera for under a thousand dollars now. The THETA Z1 is the best overall because it’s got the best image quality and dynamic range. You can pick one up for around a thousand bucks. If you’re looking for something more affordable, check out the THETA X or the Trisio Lite 2.
These are going to give you a great experience. They’re not going to take a hundred photos a minute like the THETA Z1, but they’re not that far behind. Plus, the Trisio Lite 2 comes with its own app, so you can use that as a shutter trigger. The THETA Z1 doesn’t come with a shutter trigger app, so you’ll have to buy that separately. But the good news is it’s not that expensive. It’s free. So that’s nice.
High-End Gear: DSLR with Panoramic Head
So, you want to go top-shelf for your virtual tours? Get yourself a DSLR, a panoramic head like Nodal Ninja, and a smartphone rotator (less than $100). If you’re going this route, you need a panoramic head, which will allow you to capture images in the most realistic way possible.
I know some people say you can create panoramic images using photo editing software, but it just never looks quite right. It always looks like you created it in photo editing software. So if you’re going for the realistic look, invest in a panoramic head. It’s a must-have for this type of work.
Essential Accessories: Monopod vs. Tripod
If you want to show your clients the best images of their properties, invest in a smartphone camera rotator. It’s that simple. Sure, you could spend a few bucks on a fancy tripod, but it doesn’t provide the same results as a smartphone camera rotator. Plus, a smartphone camera rotator is like 10 times cheaper. Seriously, I’m not even joking. It’s like $100 for a rotator versus $1,000 for a tripod. So if you’re serious about creating great virtual tours and don’t want to look like a total amateur, buy a smartphone camera rotator and call it a day.
Of course, if you’re just getting started and aren’t sure this whole virtual tour thing is for you, you could always try using a selfie stick as a monopod. It’s definitely an option. But let’s be honest. The selfie stick thing is just sad. So go ahead, splurge on a real smartphone camera rotator. You won’t regret it.
Camera Settings: Get Your Light Right
Lighting is an art form, my friends. Just ask any photographer. Or any bartender. It’s all about how you position your lights. That said, if you’re working with a lot of bright light, you’ll need to use the available light mode in your camera settings. But if you’re in a dark area, turn on the lights. Otherwise, you might end up with some pretty weird-looking images. I mean, I know you’re all experts in lighting and photography. But I’m just saying. Use the available light in bright areas and turn on the lights in dark areas. Simple stuff.
Shooting Techniques: Number of Shots
In case you weren’t paying attention, you’re going to need to take some shots for your virtual tour. How many shots? Well, that depends on what you’re shooting. But as a general rule, I recommend taking at least one shot per room. And if you’re working on real estate or any type of retail space, you might want to take an extra couple of shots just in case you need them later on. Better safe than sorry, right?
Shooting Techniques: Lighting Considerations
When shooting in bright areas, try to take advantage of the available light as much as possible. But if you’re in a darker area, you’ll need to turn on the lights to avoid overexposure. Simple, right? Just make sure you’re aware of your surroundings and adjust your settings accordingly.
Shooting Techniques: Self-Timer Usage
Look, I know you’re all pros here, but let’s be honest. No one is perfect. That’s why I always set the self-timer on my camera for at least five seconds before taking any shots. This way, I have time to get out of the way and avoid ruining the shot. Plus, it gives me time to strike a pose if I want to. You never know who’s going to be looking at your virtual tour, so always give yourself a little buffer time. Trust me, you’ll be glad you did.
Editing Workflows: Color Correction and Stitching
After you’ve captured all your amazing shots, it’s time to edit them into one cohesive masterpiece. I know, I know. Editing can be a drag. But it’s also where the magic happens, my friends. For color correction and stitching images, I recommend using Adobe Lightroom. It’s user-friendly, powerful, and produces stunning results. If you’re looking for something a little more budget-friendly, check out Affinity Photo. It’s a great alternative that still gets the job done.
Editing Workflows: Final Touches with Topaz Suite
Okay, so you’ve got all your images stitched together and looking amazing. But what’s next? Well, if you want to take your virtual tour to the next level, you need to try out Topaz Suite. This amazing software offers a suite of editing tools that can enhance your images and make them pop. Denoise can help you reduce noise in your images, while Gigapixel can upscale them without losing any quality. It’s like having a secret weapon in your editing arsenal.
Building Your Virtual Tour: Choosing Virtual Tour Software
With nearly 200 platforms available, selecting the right virtual tour software for your needs can be challenging. While Matterport is a popular choice, many newer platforms are emerging that cater to different markets. I recommend doing your research and exploring your options before settling on one. Find the software that fits your budget and needs. Once you’ve found your software, it’s time to get to work.
Building Your Virtual Tour: Creating the Tour
After you’ve uploaded your photos to the software, it’s time to connect them using hotspots. Trust me, it’s a lot more fun than it sounds. Adding custom elements like info cards, floor plans, and logos is also a must. And don’t forget to share the final link with your clients. They’re going to be so impressed with your amazing virtual tour skills.
Creating virtual tours is a lot of work, but it’s also a lot of fun. With the right gear, techniques, and software, you can create stunning tours that will blow your clients away. So get out there and start shooting!


+ There are no comments
Add yours